Setting Up Your Environment
Prerequisites
- GitHub Account: If you don't have one yet, sign up on GitHub.
- Azure Subscription: Sign up for a free Azure account.
Set Up Source Code Repository
-
The source code is in aigenius-maf-travel-assistant GitHub repository.
Fork this repository to your own GitHub account.
-
The recommended way to work through this session is with GitHub Codespaces, which provides a ready-to-use environment with all required tools.
Alternatively, you can use Visual Studio Code to run the application locally.
Using GitHub Codespaces: Once you've forked the repository, navigate to your forked repository on GitHub and click the green Code button, then select the Codespaces tab and click Create codespace on main.The Codespace will be pre-configured with all the necessary dependencies and tools to run the labs.
It may take a few minutes for the Codespace to be created and all dependencies to be installed.
If you encounter any issues, refer to the GitHub Codespaces documentation for troubleshooting tips and solutions.
Set Up Azure Environment
1. Authenticate with Azure
First, authenticate with your Azure account using the Azure Developer CLI:
azd auth login --use-device-code
Follow the prompts to complete the authentication process in your browser.
2. Create and Configure Environment
Create a new environment for your Azure resources:
azd env new dev
azd env select dev
azd env set AZURE_LOCATION australiaeast
3. Provision Azure Resources
-
Create all required Azure infrastructure using the following command. This command will deploy resources defined in the
infrafolder.azd provision -
Navigate to the Azure Portal and verify the resources under the resource group
rg-aiagent-ws-dev.
4. Load Sample Data
The application uses sample data which needs to be loaded into the Cosmos DB instance that was provisioned in the previous step.
-
Run the following command from a new terminal window to execute the script. You can also use the Play button in Visual Studio Code to run the script directly from the editor.
dotnet run scripts/seed-cosmosdb/Program.cs
5. Deploy Application to Azure
-
The application uses containerized services for the frontend and backend, which are deployed to Azure Container Apps. Run the following command to build and deploy these services to Azure:
azd deploy -
Once deployment completes, retrieve the frontend URL from your environment variables using the following command:
# Linux/macOS
azd env get-values | grep FRONTEND_URI
# Windows PowerShell azd env get-values | Select-String "FRONTEND_URI"Copy the value and open it in your browser to access the application.
Running the Application Locally
For local development and testing, you can run the application on your machine or Codespace.
This uses the same Azure resources (AI Foundry, Cosmos DB) that were provisioned during deployment, allowing you to develop and test changes before deploying them. The environment variables for connecting to Azure resources are setup in the .env file when you provision the infrastructure.
1. Build the Frontend Application
Open a new terminal in Visual Studio Code and navigate to src/frontend folder and build the application:
cd src/frontend
npm install
npm run build
2. Start the Application
The application uses .NET Aspire to orchestrate all services (backend and frontend) with a single command and provides a dashboard for monitoring.
Open a new terminal in Visual Studio Code and navigate to src/ContosoTravel.AppHost folder and run the application:
cd src/ContosoTravel.AppHost
dotnet run
3. Access the Application
-
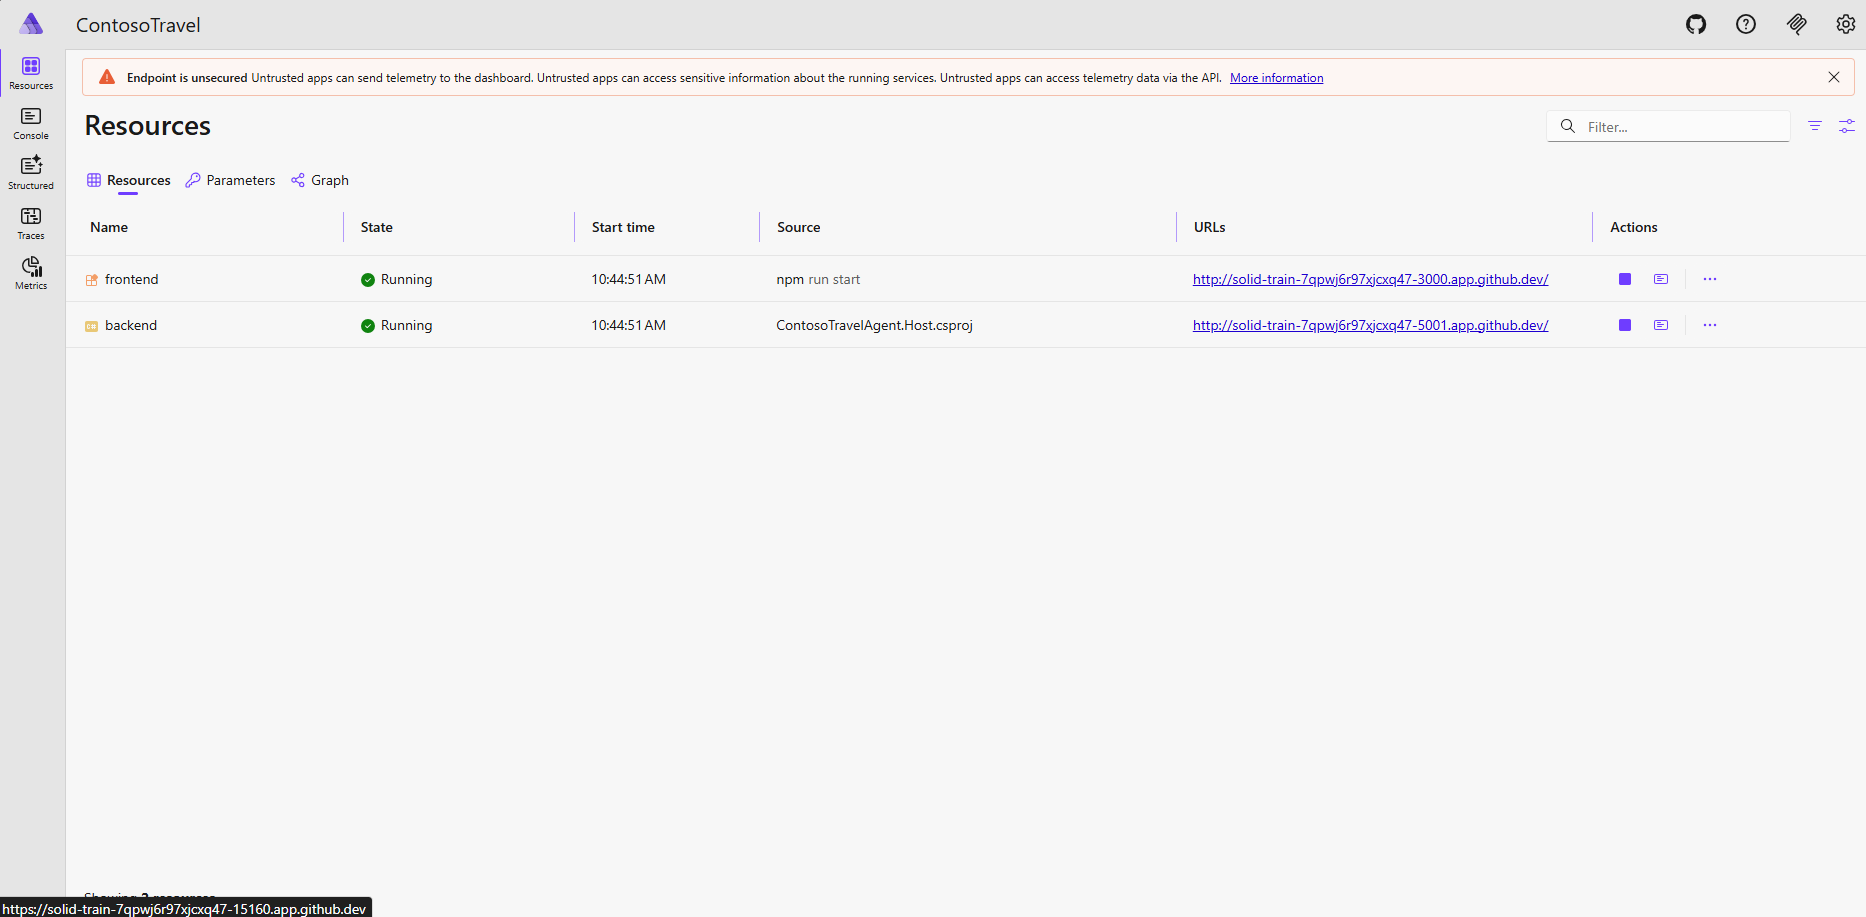
To access the .NET Aspire dashboard:
- Local Development: Open your browser to
http://localhost:15160 - GitHub Codespaces: When the application starts, Codespaces will automatically forward port 15160. Go to the Ports panel in VS Code, find port 15160, and click the globe icon (🌐) to open the dashboard in your browser.
- Local Development: Open your browser to
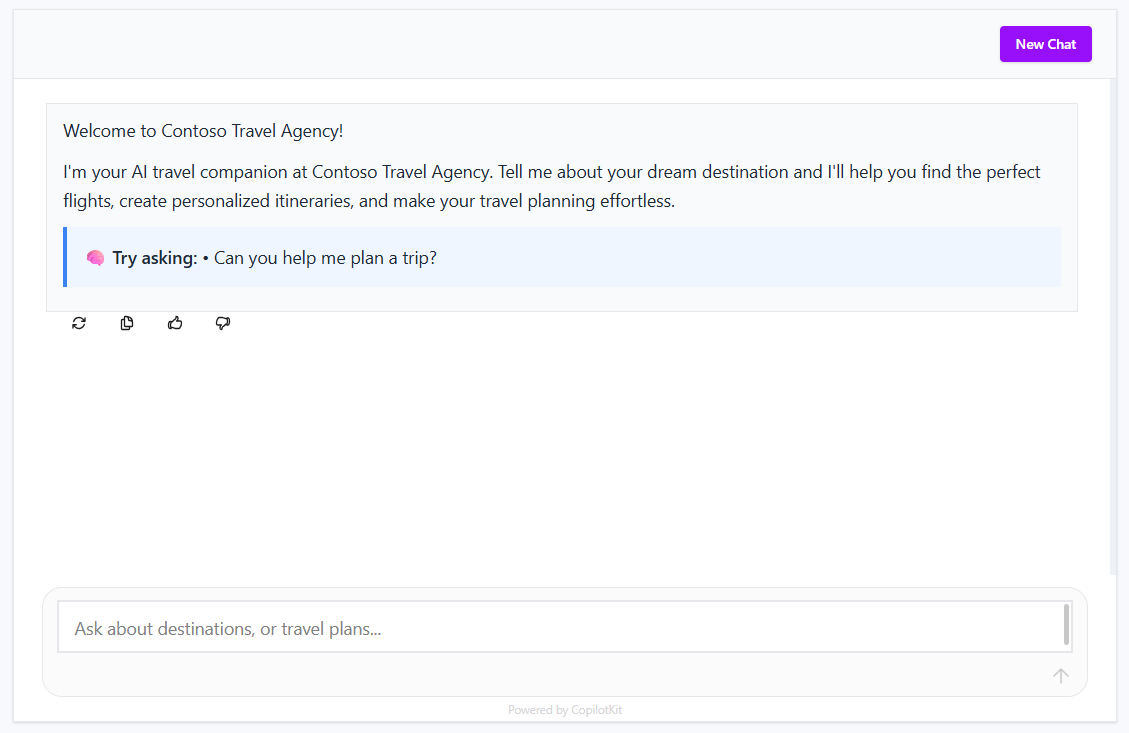
-
You can see the links to access the frontend and backend services there. Click on the frontend link to open the Contoso Travel Agent application in your browser.